Introduction
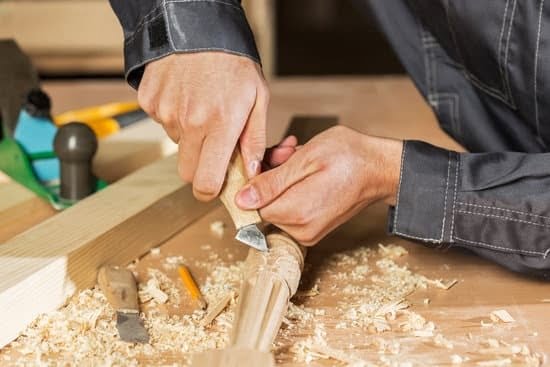
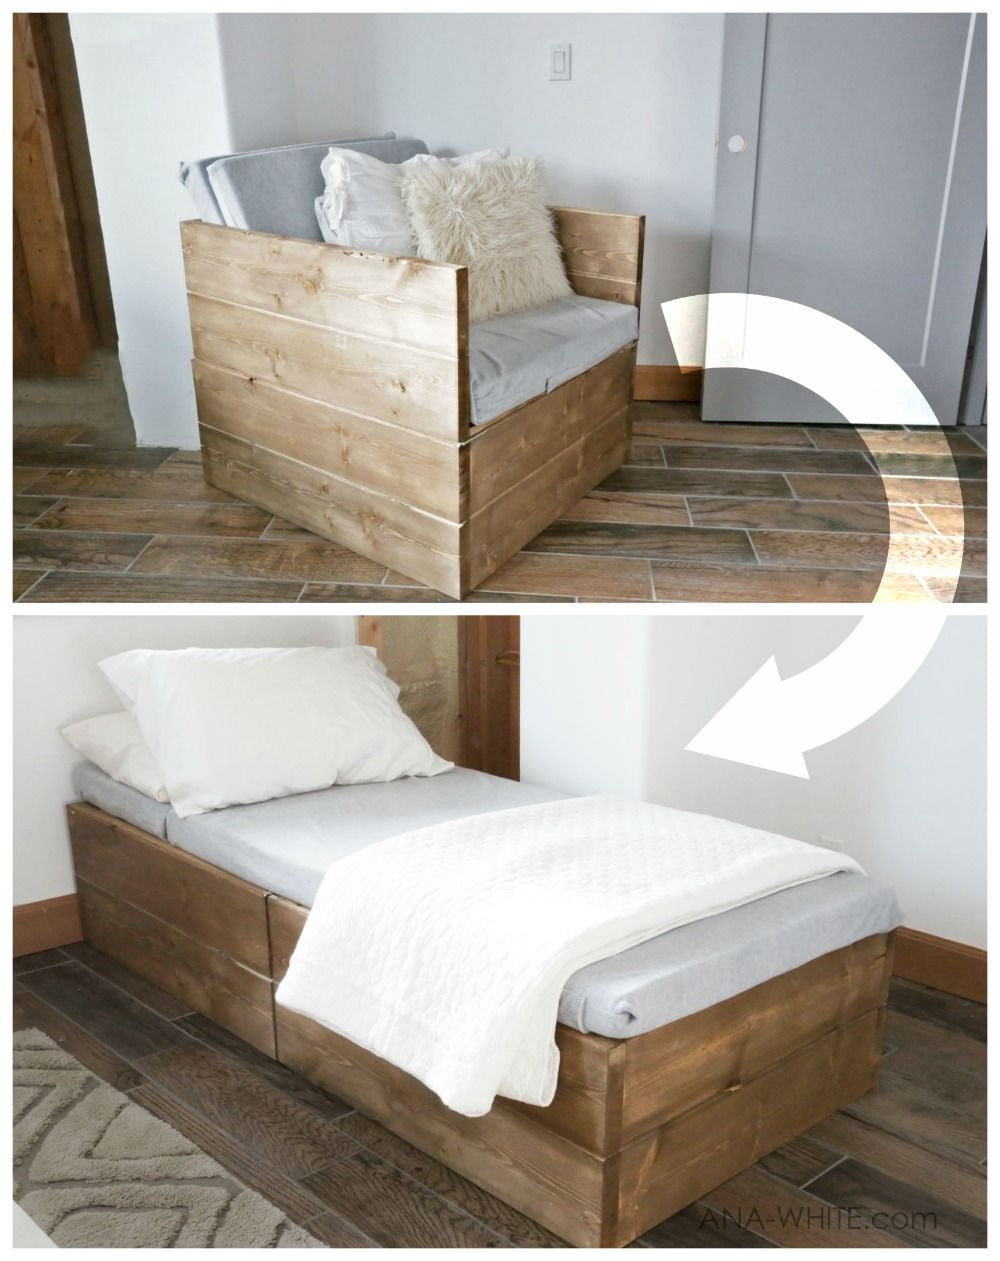
Building a king bed frame from wood can be a great source of pride and satisfaction. It’s a rewarding project that can take time and patience to get just right. This guide provides step by step instructions for the advanced woodworker on how to build a sturdy and stylish king bed frame with minimal effort and expense.
Before getting started on the project, it is important to consider the design of the bed frame, determine what type of wood you will use, and choose how long it should take to complete. You may also opt to buy additional materials such as decorative rails or metal accents that will add flair to your finished product.
Once everything is planned ahead of time, you are ready to start working on the main steps required in building a king bed frame out of wood. First, make sure all lumber pieces are cut accurately and joined together correctly. Pay close attention to any measurements or angles so that nothing has been overlooked when putting together your bed frame. After making sure all joints are secure, sand any rough edges or areas until smooth before continuing on with assembly.
Next, if necessary drill holes in order for you to attach hardware like bolts or nails together as needed for various connections along the frame. When leather panels are added these should be carefully attached in place using glue or screws for added stability and durability for longevity. Finally apply finishing touches such as paint or stain before adding a mattress if desired and placing your new king size bed frame into its proper spot!
Gather the Right Tools for Your Project
It is important to have the appropriate tools for any woodworking project. For building a king bed frame, you will need a saw (jigsaw, miter saw, or circular saw), sandpaper, drill, power sander, clamps, screws and hinges, hammer, screwdriver and paintbrush. You may also want to use wood glue to strengthen the joints of your bed frame. Depending on how many additional features you plan to add such as shelves or drawers, you may need additional tools. Make sure that you have all the necessary tools before proceeding with the project so that everything runs smoothly.
Selecting the Wood and Designing the Bed Frame
When beginning a woodworking project to build a king-size bed frame, it is important to select the right type of wood for the job. First, you should decide on a design for your frame. A simple but attractive approach would be to build a box frame made from one-by-six boards connected using pocket screws and reinforced through corner blocks. This type of bed frame can accommodate any mattress size but will not be adjustable in height as more intricate designs may be.
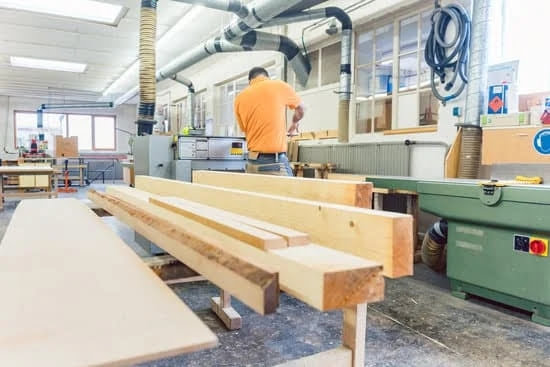
Once you have finalized the design for your king sized bed frame, it’s time to select the appropriate lumber. Look for sturdy hardwoods that are unlikely to dent when bumped into like oak or cherry. These options will provide great strength and stability while also looking aesthetically pleasing. Softwood options may also suffice if they are thick enough, such as pine or douglas fir boards that are at least 1” thick. Sand down any rough edges and use wood filler if needed since you want everything to look smooth and finished once the frame is completed. Then apply either stain or varnish depending on your preference before assembling the pieces of lumber with pocket screws and corner blocks if desired as described earlier in this article. After completing these steps, your custom built king-sized bed frame will be ready to house whatever mattress and pillows desired!
Step-By-Step Instructions for Constructing the Bed Frame
1. Gather materials: You will need plywood, screws and brackets, as well as a saw and drill for cutting the wood, plus a hammer and nails for assembly.
2. Cut four pieces of plywood to the desired size of your king bed frame (the two larger pieces should be longer than the other two). The two larger pieces go at the side sections, while the smaller two are for the head and foot of the bed frame.
3. Measure: When you have all your pieces cut, measure them against each other to make sure they’re all even in size and shape.
4. Attach screws: Using either wood screws or galvanized lag bolts with washers, attach the four pieces together to form a rectangular shape (or whatever shape you desire). This will ensure that each piece is securely held in place while building your king bed frame.
5. Get creative: You can add decorative brackets or trim embellishments to create a unique look for your bed frame, or simply sand down any rough edges that arise during construction so it looks polished and professional once complete!
6. Sand & finish: Once your bed frame is assembled, use sandpaper to lightly smooth out any remaining sharp edges before staining with a sealant or paint of your choice.
7. Enjoy: Sit back, relax, and enjoy sleeping on your new handmade king-sized bed!
Making It Look Professional
To make a king bed frame look professional, the builder must make use of quality materials and pay attention to details. When selecting materials, such as lumber and hardware, choose wood that has been properly dried and cured. Check for straightness and consistency before purchasing. Quality grade saws, drills, sanders and other tools should also be used for accurate cuts and finishes.
A finished king bed frame should be durable and long-lasting, so assembling it correctly is key. A miter saw is usually required for precision cutting on angles for the corners of a frame. A pocket hole jig can be used to join pieces by drilling a series of holes into each side where screws are then inserted to lock them in place. Louvered panels or raised panels can be added to the sides or headboard to give extra detail to the design.
Another way to make a bed frame look more professional is with finishing touches such as painting or staining thewoodwork. Several layers of a good quality sealant should be applied in order to protect the finish from wear and tear over time. Concealed corner brackets can also be used instead of trimming out directly onto the face of the bedframe ” this adds strength while allowing easy access if needed later on when taking apart the frame for repairs or moving.
Adding the Finishing Touches and Piecing It All Together
Now that the bed frame is constructed, the finishing touches can be added. Begin by sanding all of the wood to create a smooth surface on each piece. This step includes both the inside and outside of the frame, as well as any areas where the wood will contact another piece (such as the slats and legs). Once complete, it’s time to stain or paint the frame. Choose an appropriate finish for both durability and aesthetic; this might be a varnish, polyurethane, oil-based paint or latex paint. Make sure to apply two coats of finish with light sanding in between applications to thoroughly seal the wood.
When everything is dry, assemble all of the pieces together using screws and glue provided in your hardware kit. Securely attach each part together properly – double check before moving forward – then take a step back to admire your hard work! The last step is to add slats at each end of the bed between support beams and secure them in place with screws. Now your main structure has been assembled; use a measuring tape to ensure accurate dimensions before covering with decorative items such as upholstery fabric or sheets! Enjoy your new king size bed frame – you’ve done an amazing job building it from scratch!
Practical Maintenance Tips for Your King Bed Frame Woodworking
1. Inspect your king bed frame regularly for any signs of wear or damage that may need to be repaired. This includes checking for loose structural connections, damaged joints, and splitting boards.
2. To ensure that your king bed frame woodworking retains its strength and rigidity, you should apply a fresh coat of sandpaper to all contact areas each year. This will help protect the surface from deterioration due to extended use or exposure to moisture or other environmental factors.
3. To maintain the longevity and stability of your king bed frame, periodically check screws and nails for tightness and inspect hardware for rust evidence or other corrosion damage caused by water seepage. Make any necessary repairs promptly because even small amounts of deterioration can cause serious instability issues over time.
4. If possible, store any lumber and wood panel pieces used in the construction process in a cool dry place; this will help prevent warping due to extreme temperatures or high humidity levels. Additionally, it is important to allow ample air circulation around the perimeter of your bed frame; this will minimize excessive moisture which can lead to mildew growth as well as wood rot.
5. When cleaning your king bed frame woodworking, use only products designed specifically for wooden surfaces; harsh chemicals or too much pressure can potentially degrade the finish on your furniture as well as contribute to premature warping or cracking of boards or beams over time
6. Lastly, if you noticed any exposure related symptoms such as cracks along joints or frames that have become noticeably weaker than they once were then those sections should be reinforced with additional support elements such as additional posts, leg braces or corner blocks depending on the design
Final Thoughts
Once you have finished the task of constructing your king-sized bed frame from scratch, you can take a step back and appreciate the fruits of your labor. Not only did you create something beautiful with your own hands, but over time it will stand up to the test of wear and tear in your home. Admire the smoothness of the wood as you run your hand along it, enjoy its presence in the room, and contemplate all that went into its making. Feel confident knowing you have masterfully crafted a one-of-a-kind piece of furniture that no other store or manufacturer could offer you. Display photos or art on top of it to add an extra flare of personal charm and custom style. Further enjoy knowing your king bed frame will bring years – even generations – of comfort and deep sleep while also serving as an enduring heirloom piece for future generations.

Hi everyone! I’m a woodworker and blogger, and this is my woodworking blog. In my blog, I share tips and tricks for woodworkers of all skill levels, as well as project ideas that you can try yourself.

