Introduction to Woodworking Carving Chisel
The woodworking carving chisel is one of the most useful tools in any workshop. It has been used for centuries to shape and form wooden objects, as well as for detailing and ornamental work. The use of a carve chisel allows for precise cuts and intricate designs that would be very difficult otherwise.
The history of the chisel dates back thousands of years. It was first used in ancient Egypt, where it was found in tombs alongside other valuable tools. Since then it has been used in many cultures around the world, but predominantly by woodworkers. In Europe during the 14th century, craftsmen adopted its use along with a range of other specialized hand tools and together they revolutionized the way furniture was made. In recent times power carvers have also become increasingly popular amongst professional woodworkers and hobbyists alike; however, traditional carving with a chisel still remains an important part of carpentry or woodworking today.
Some of the uses of a carving chisel include making jointed pieces such as dovetailed boxes, detailed decorations such as scrolls and borders on furniture, engraving designs into wooden objects and even sculpture or figure making from solid pieces of wood. Chisels come with different tip thicknesses (widths) ranging from 0mm for delicate details up to 8mm for more aggressive work; their length can range from 50-150 mm. Carving gouges are another common tool entirely used for curved cuts in solid materials – especially in larger scale sculptures or architectural carvings such as fan vaulted ceilings etc.
Selecting the right tool for your task is key when working with chisels; too large a width will either chip out too much material or isn’t precise enough; conversely too small may result in difficulty controlling them – especially when pushing against harder materials- so it’s important to pick what fits your job best! Specialised sharpening stones are available which enable you to keep all your blade edges sharp throughout whatever project you’re working on. Good quality wooden handles should also be chosen when buying these tools – they aid grip control whilst protecting hands from repetitive strain injury due to long periods spent working them!
Benefits of Using a Woodworking Carving Chisel
Safety: Safety is paramount when it comes to woodworking. A woodworking carving chisel provides a variety of different shapes, sizes and edges for delicate and complicated cuts. This ensures that you are able to shape the wood safely, without damaging the surrounding material or causing any risk of injury.
Efficiency: Carving chisels offer an efficient method of creating detailed designs as they can be used in multiple directions. This saves time and effort as one tool can be used several times in order to create an impressive finished piece.
Versatility: With its long handle, a carving chisel can reach difficult areas while maintaining excellent control of its form. It allows users to manipulate different materials based on the size and shape of their design. It also allows users to give the look of different finishes such as smooth curves, scallops, or intricate details with tiny cuts which cannot be replicated by machines or other tools easily available today.
Different Types of Woodworking Carving Chisels
Detail Chisels: Detail Chisels are designed with a sharp edge and long handle, usually made of steel. The blade angles are usually between 12-30° to help shape small details in wood such as carving letters or designs.
Roughing Chisels: Roughing Chisels have wider blades than the detail chisel since the idea is to rough out a piece before detailed work begins. These chisels are suited for cutting larger blocks of material, and should not be used for precise shaping.
Dent Work Chisels: Dent Work Chisels differ from other types as they feature flat blade tips that can help level dents in wood after nails or screw holes have been filled. They come in many sizes and shapes, with some being pointed and some having blunt edges.
Specialty Chisels: Specialty chisels are usually used for specific tasks when specific shapes are needed. These tools commonly include V-gouges shaped chisels, U-shaped chisel gouges, Skew chisel gouges, Bowl Adze Gouges, Fishtail Gouges, Round Nose Gouges and Angled Parting Tools.
Selecting the Right Woodworking Carving Chisel for Your Project
When looking for the right woodworking carving chisel for your project, you want to make sure that you get the best possible quality tool at a good price. To do this, it is important to consider both the quality and price of the chisel before making your purchase. When evaluating quality, consider features such as solid-wood or steel handles, tempered blades with finely honed edges, and an ergonomic design that makes operation comfortable. Price should also be taken into consideration. It is important to find a balance between quality and affordability so that you can meet your budget needs without sacrificing performance or craftsmanship. Additionally, anything purchased should come with a guarantee in case of any manufacturer defects or issues. To make sure you’re getting the best deal, shop around at various suppliers and compare prices before committing to a purchase. Taking these small steps ensures that you will have the proper chisel for your project without breaking the bank.
Maintaining Your Woodworking Carving Chisel
Sharpening a woodworking carving chisel is essential in order to produce smooth, accurate cuts. The first step is to set the blade at the correct angle for use with your particular type of wood. Generally, between 25 and 35 degrees is an appropriate range for most common hardwoods. Once you have determined the correct angle, you should use a diamond sharpening stone – making sure to keep the bevel consistently flat against the stone – until you have reached maximum sharpness. Once this has been accomplished it’s important to remember that keeping a freshly-sharpened Chisel in top condition requires frequent honing (not grinding), as even minimal wear resulting from regular use can cause your razor edge to become dull faster than if it is not maintained properly.
In addition to sharpening and honing, preserving the life of a woodworking carving chisel also involves lubricating its moving parts regularly with light oil or wax, which helps reduce friction and keeps rust from forming on the blade. You should also store your chisels in either leather or cloth sheaths when not in use, which protects them from scratches and other damage or dirt buildup—in particular if they are made of softer metals such as bronze or copper. Lastly, always be sure to wash and dry your tools after each session and avoid leaving them exposed in humid environments; these steps will further extend their life for years of future use with optimal results every time.
Step-by-Step How To Use Your Woodworking Carving Chisel
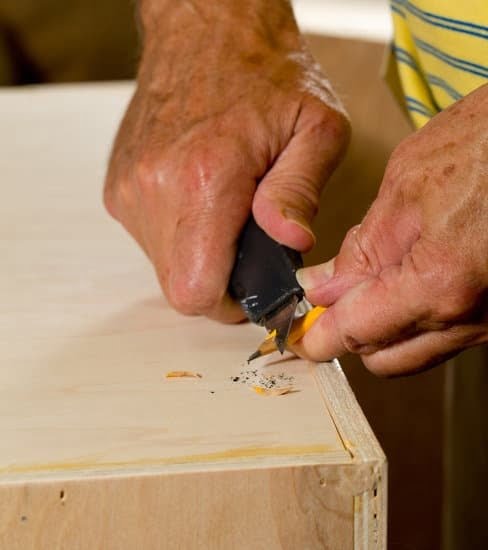
Using a woodworking carving chisel is an important skill for anyone who enjoys working with wood and wants to get the most out of their pieces. With so many different types of chisels available, understanding how to use each one effectively is key. Before getting started with any chisel, it’s best to sharpen it first. Here are the steps for using a woodworking carving chisel effectively:
1. Choose the right type of chisel: Start by researching which type of chisel will work best for the project you plan to undertake. This can range from a narrow set like paring chisels that are capable of making intricate cuts; heavy-duty mortise chisels that rumble through fresh trees; or long-handled piercers that are ideal for large scale projects. Make sure you review safety information and consider the material you’ll be working on before making your selection.
2. Prepare the area: Set up your workspace carefully and make sure there are no tripping hazards nearby. You should also make sure access points to other areas of your workshop or home are blocked off, as flying chips from the carving process can be dangerous if not properly contained within the project space.
3. Secure your workpiece: Make sure whatever piece you’re working on is securely clamped down in a vise so there’s no possibility of it slipping while you work on it; being hit by your chisel could have potentially dangerous results!
4. Practice proper safety techniques: Safety should be your top priority when using any tools! Wear protective gear (gloves, goggles, etc.) and keep all tools away from children’s reach at all times – even when not in use. Additionally, bear in mind that sharper blades tend to perform better than duller ones so don’t be tempted to skip sharpening before a project begins! Finally, always make sure that both hands remain behind the handle at all times during use – only move them once you’re done cutting or stationery during use – this way you always maintain full control over your movements and avoid accidents.
5. Start small: Start out slowly with relatively simple cuts until you build up confidence and experience with more intricate technique-dependent cuts later on down the road. Do not attempt difficult projects before learning some basics – seek advice from professionals or read up on tutorials beforehand if needed!
6. Monitor your progress: Check regularly throughout each cut so issues can be indentified early on in order to avoid ruining an entire piece due to mistakes/errors made along the way!
Tips for Working with a Woodworking Carving Chisel
Using a woodworking carving chisel is an important skill for any woodworker to have, but it’s essential to exercise caution when doing so. Here are some guidelines to help you safely use your chisel and get the best results:
1. Protect yourself—wear safety glasses while using the chisel, as small particles may break off of the material being carved and can easily damage your eyes. Wear protective gloves if possible.
2. Have a plan in mind before you begin chiseling—this will help insure your work goes quickly, with minimal mistakes and loss of time..
3. Make sure your workpiece is firmly secured on a sturdy surface before beginning—you’ll need to offer extra support for wider pieces that won’t fit onto a clamp or vise without risking possible breakage due to the weight and pressure from your strikes.
4. Start slow—begin by striking gentle strokes, gradually increasing strength as needed when it comes time for deeper cutting or larger chips away. Doing this can also help prevent unnecessary damage from an overly powerful strike.
5. Use a mallet or hammer when appropriate—the blunt edge of either tool should be used carefully along the blade’s length before switching over to short, quick taps directly underneath it at a roughly 1-degree angle; each stroke should be evenly distributed throughout the piece, no matter how small they may be.
6. Refrain from pushing down too hard—it’s best to let gravity do most of the work when it comes to pushing down on the cutting edge of your chisel; hand pressure should only be used lightly against resistant spots or grain during rough cutting; never over-exert them otherwise!
7. Have proper storage practices in place – once finished, clean off your carving chisels with mineral spirits and make sure all blades are stored away from moisture sources such as water sponges or damp rags (which can cause corrosion).
Examples of Woodworking Carving Chisel Projects
Woodworking carving chisels are an essential tool for any carpenter or woodworker and can be used to create a variety of stunning results when working with wood. From the primitive folk art relief carving to more intricate figures, beautiful details and ornate designs, a good quality chisel can enable you to make a wide range of attractive items.
Examples of projects that can be accomplished with woodworking carving chisels include:
• Making hand-crafted wooden furniture such as chairs, benches or tables
• Creating custom carvings for cabinets or mantles
• Building musical instruments like guitars, violins, mandolins and banjos
• Creating impressive wooden sculptures
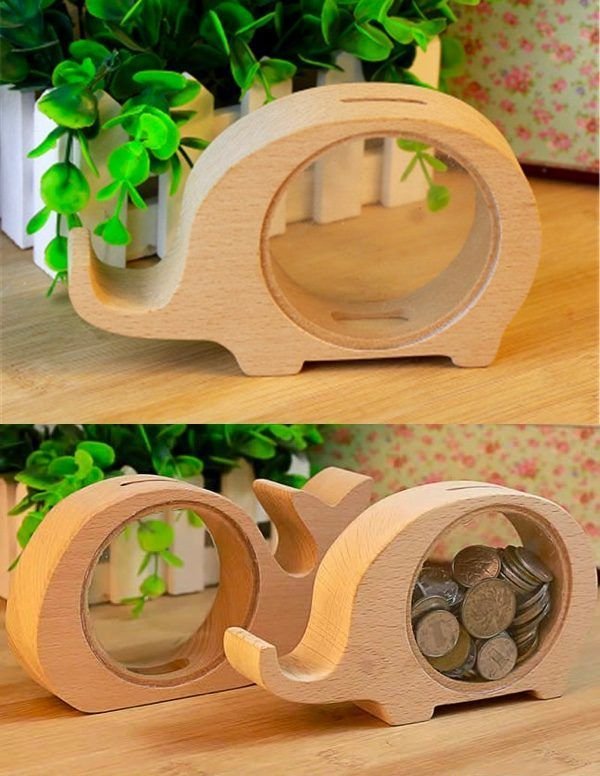
• Making toys out of wood
• Crafting intricate decorations like decorative frames and crosses
• Inlay woodworking—crafting detailed designs in the top surface of a piece of wood (This type of work may not require a chisel.)
Example photos that illustrate these items: images/photos showing some examples would help visualize what you’re talking about. These can be found on websites such as Etsy and Pinterest, which showcase crafted works made with woodcarving chisels. Videos showing how these projects are done can also be found online. Tutorials and demonstrations from experienced carvers will help newbies understand the basics of using chisels for their own projects. Most sites feature short clips detailing each step involved in achieving stunning results for different types of projects.
Conclusion
Once you’ve mastered the technique of using your woodworking carving chisel, the possibilities for projects are nearly endless! You can craft more-intricate designs into pieces of furniture, such as an armoire or a side table with ornamental grooves. You can set stones in jewelry boxes and other ornamental pieces. You can even craft wooden sculptures that capture memories or celebrate special moments—from crafted replicas of family heirlooms to one-of-a kind figurines for your bookshelf, you can design and create virtually anything. Finally, customize everyday items like cutting boards by engraving artistic patterns or inscribing a custom message. With a woodworking carving chisel, the creative possibilities are vast!

Hi everyone! I’m a woodworker and blogger, and this is my woodworking blog. In my blog, I share tips and tricks for woodworkers of all skill levels, as well as project ideas that you can try yourself.


