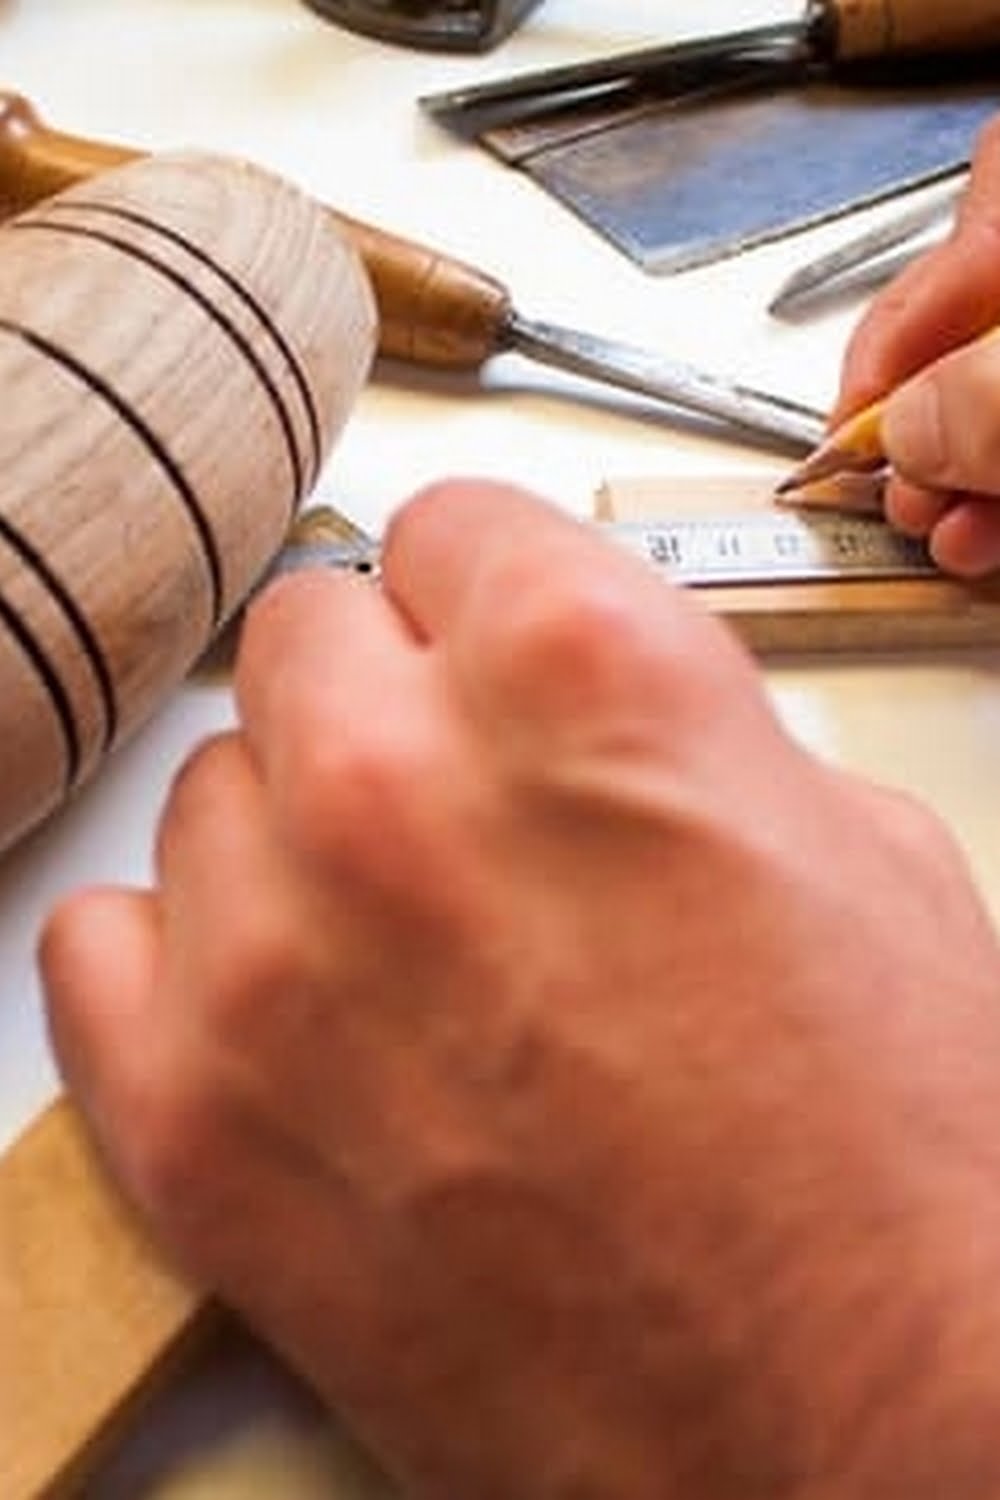
Some families watch television, others like to play sports. But you are a woodsman and your child loves to copy you! So how can you safely include your children in your woodworking activities? It’s simple. Before letting your child touch any of your woodworking tools, you must have a safety talk with them.
Let them know which tools they are able to touch, such as the hammer, nails and other non sharp and non electrical items. You don’t ever want your young child to operate a saw or a drill. They may think they don’t need you around to use it, so just avoid giving them that habit all together.
After you have a safety talk with your child about your woodwork shop and its tools, you can begin to show them how each of the tools work. Many like to begin with simple tasks such as sanding wood or holding the drill. But before you begin, you and your child need to decide on what project you will want to work on together.
There are many things you could make that will actually come in handy or that will be fun for your child after creating it. Such as a wooden horse that rocks, a doll house, tree house or a car.

Once you choose the project, you can then show your child which tools will be necessary for the job and why. Have them hand you each tool – make sure to call each one by its correct name – so that they can learn while watching. After they thoroughly understand how you are using each of the woodworking tools, you can allow them to help out a little more by letting them make some decisions and do some of the work.
Depending on their age, you may not want to give them access to a saw or drill. An appropriate age would be ten, when they are less clumsy and can grasp the aspects of the danger that the tools can cause.
Another option for your younger children is to buy them a child-sized tool kit. This will give them courage and confidence in helping you. Having their very own toolbox is very encouraging for them. You can also let them put the pieces together or fill in the holes that you drill, for instance if you are making a wooden rack to hang keys or coats, you can drill the hole, while your child places the hooks into them.
After finishing the creation of your project, the real fun begins. Bring out the painting tools and enjoy in a family time of fun and creativity. This should be placed in the hands of the child, since most love to decorate with colors. If this is their first time painting, you should show them how to neatly brush the paint onto the wood in straight lines in the same direction. But allow them to choose the colors and where they go.
When your project is fully complete, congratulate them! Make them feel like it was their work that made the wood what it is now. This will open up a door for them to want to create new things. You never know, they may come up with an award winning invention!

Hi everyone! I’m a woodworker and blogger, and this is my woodworking blog. In my blog, I share tips and tricks for woodworkers of all skill levels, as well as project ideas that you can try yourself.


